Google Slides is a popular tool for creating presentations. You can add transitions in Google Slides to make your presentation more interesting. Transitions are effects that create smooth and seamless slide changes. If you want to add transitions to Google Slides on your iPad, then this guide is for you. Let’s start with how to transition to Google Slides on iPad.
How do you add transitions on Google Slides on an iPad?
Adding transitions to your Google Slides enhances your presentation. Transitions change from one slide to another smoothly and attractively. This step-by-step guide will cover how to apply transformations to your Google Slides:
1. Open Your Google Slides: Open your presentation where you want to add the transition.
2. Select a Slide: Click the slide you want to add the transition to, which can select slides from the left side panel.
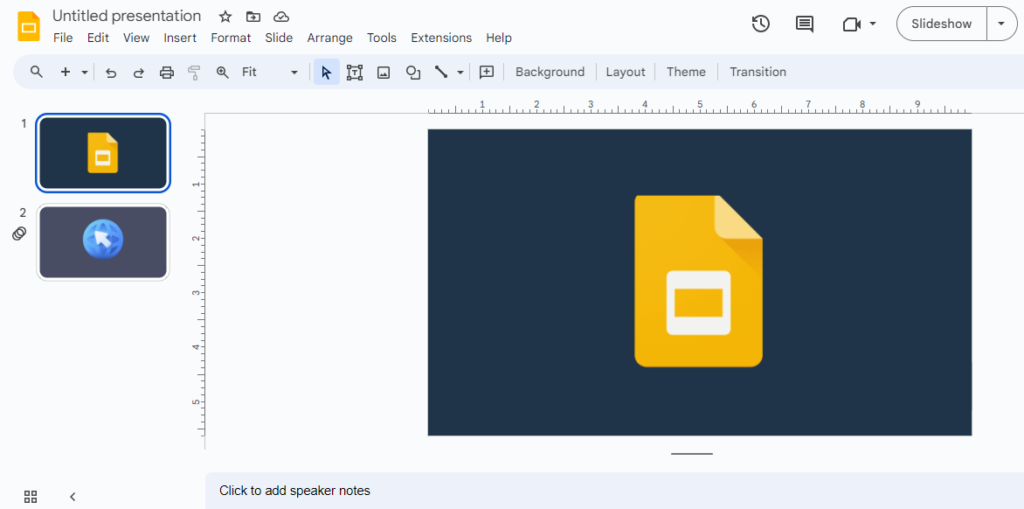
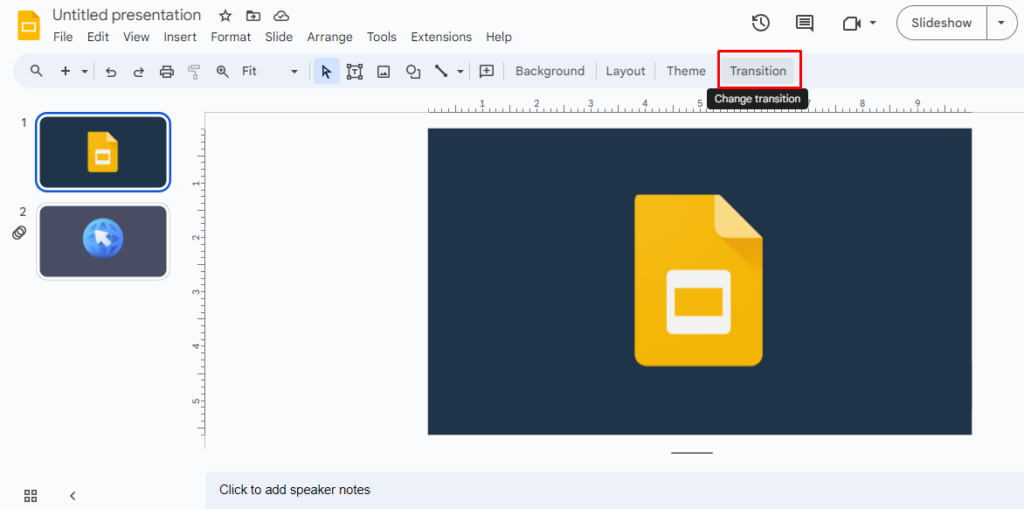
3. Open the Transitions Panel: In the top menu, you will see a toolbar with various options. Select “Transition” from there.
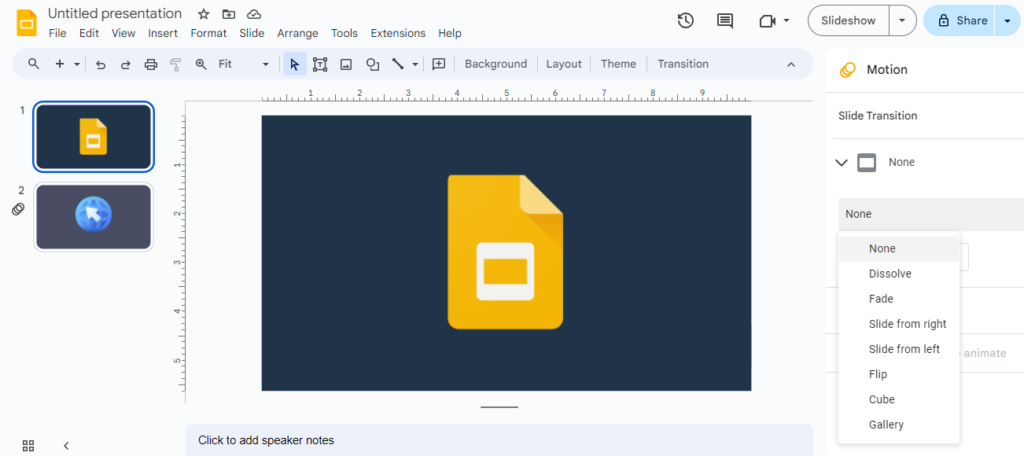
4. Choose a transition effect: Clicking the Transition button will open a menu on the right with various transition effects. Select where you want to add the transition options to your slide. Google Slides will only apply the transition on the selected slide.
5. Apply the transition: Once you’ve chosen the transition effect, click the “Apply” button in the Transitions panel. It will then apply the conversion to the slide.
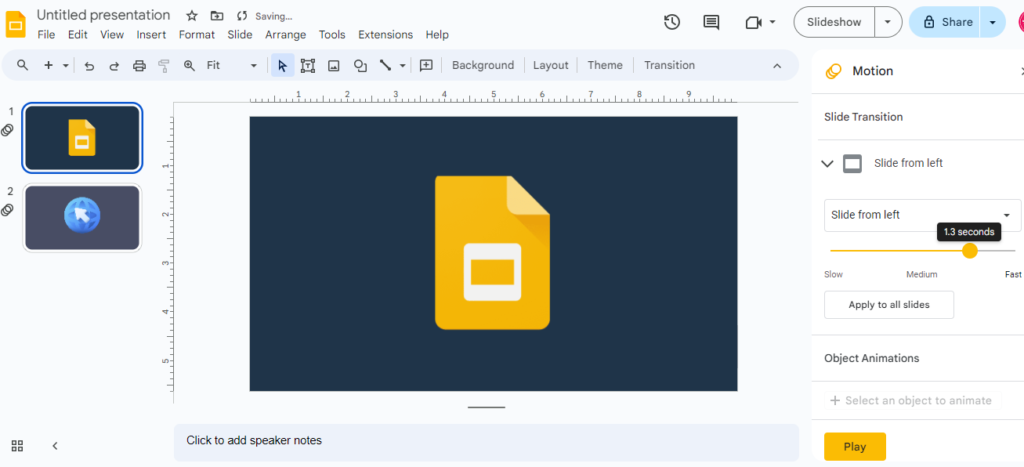
6. Preview transitions: To preview the transition effect, click on the “Play” button located in the Transitions pane. This will allow you to see how the transition will appear in your presentation.
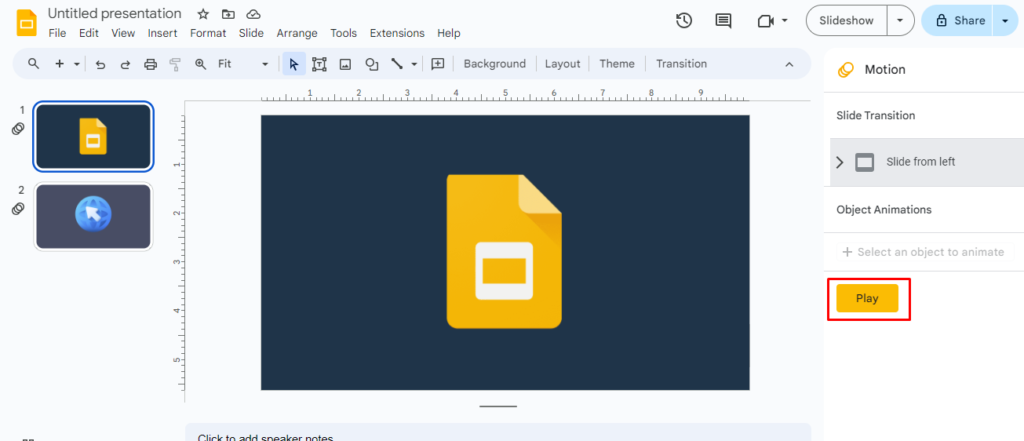
7. Save Your Presentation: After adding transitions to your slides, save your presentation to keep your changes.
Note: You can customize the transition speed and orientation of your Google Slides presentation under Transition Options
How To Add Animation On Google Slides iPad?
Animation options in Google Slides are tools that can move or change objects or elements on your slides in visually appealing ways. It helps to make your presentation more interesting. Let’s see step by step how to add animation on Google Slides.
1. Select an Object: In your Google Slides presentation, select the object you want to add animations.
2. Open the Animation Panel: Click on “Insert” in the top menu, then select “Animation” in the drop-down menu.
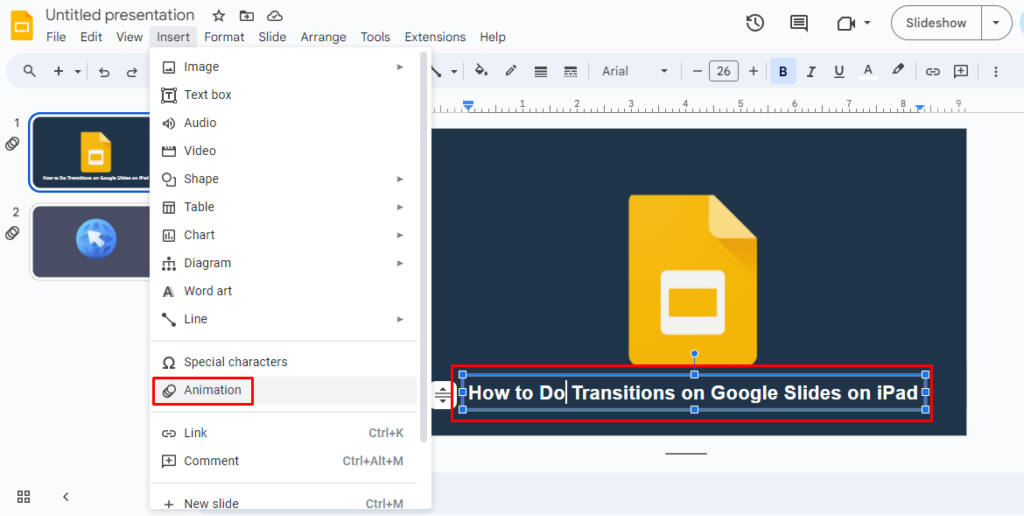
3. Choose an Add Animation: Then in the animation panel on the right, click the “Add Animation” button and select a desired animation for your elements.
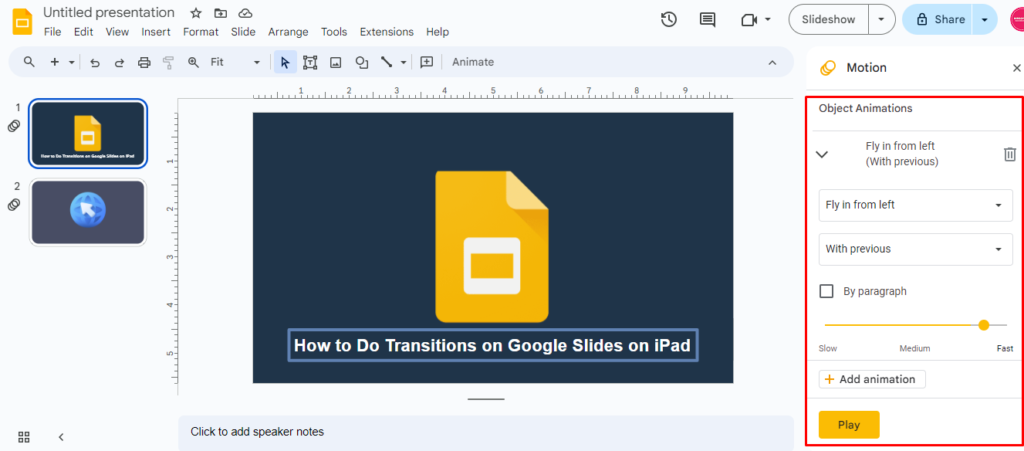
4. Adjust Animation Settings: Some animations have settings you can adjust, such as direction or speed. You can customize the animation settings using the options provided in the sidebar.
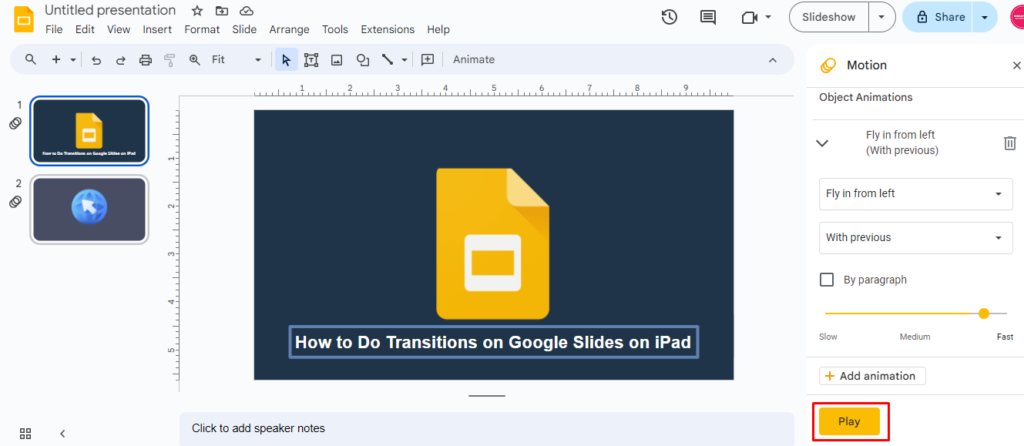
5. Preview the Animation: Then you can apply it to multiple elements in the same way. After, select the “Play” button to see how your multiple animations work in your Google Slides.
FAQ For Google Slides Transitions and Animations
What is the difference between transitions and animations in Google Slides?
Transitions in Google Slides smooth out your presentation when moving from one slide to another. Animations are effects on any element in your presentation for text boxes, images, and logos in Google Slides.
How do you write on Google Slides while presenting on an iPad?
To write on Google Slides while presenting on iPad, you can use the “Presenter View” feature. Start your presentation and select “Presentation View” by clicking the three dots in the upper-right corner. You can now write on the slide using the annotation tool at the bottom of the screen.
How do I make a Google Slides presentation loop on an iPad?
To create a loop in a Google Slides presentation on your iPad, open the presentation and select “Presentation View” by clicking the three dots. Then tap “Play” to start the presentation It will loop continuously until you stop it, allowing for a seamless, repeating display.